The Easy Guide to Attaching Patches
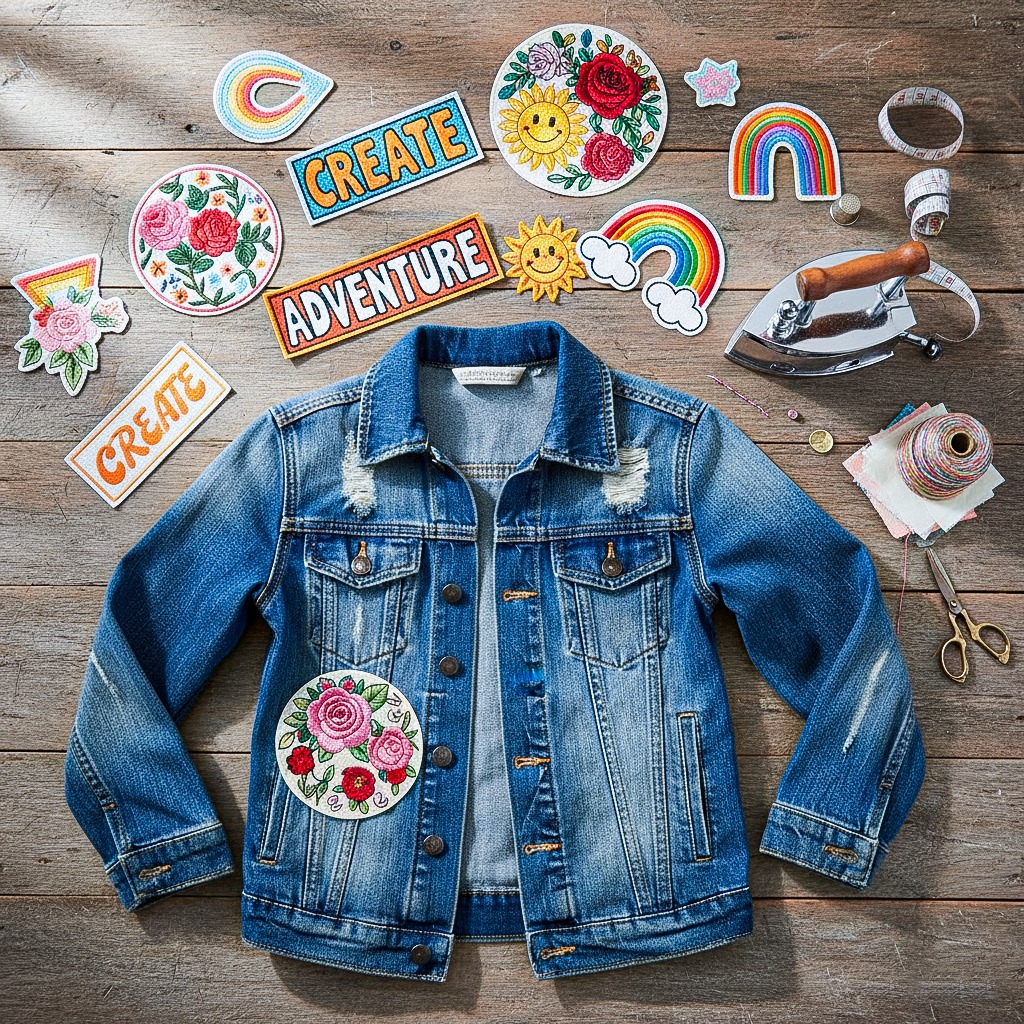
Whether you’re customizing a denim jacket, repairing worn jeans, or adding character to a backpack, patches can instantly refresh and elevate any fabric. They offer a simple way to personalize garments and accessories with minimal effort and maximum impact.
One of the biggest advantages is flexibility. There are plenty of patch styles and attachment methods available, no matter the material or item you’re working with. From traditional sewing techniques to no-sew options, there’s an approach to suit every project and skill level.
Below, we’ll explore the most effective ways to attach different types of patches to various garments, helping you choose the right method for durability, style, and ease.
How to Apply Iron-On Patches
Iron-on patches are popular because they’re fast to apply and don’t require sewing. They work well on items like jeans, jackets, hats, pants, backpacks, and school uniforms. To apply one, place the patch on clean, dry fabric, cover it with a press cloth such as a thin towel or pillowcase, and press firmly with a hot iron without steam for about 30 seconds. Let it cool, then check the edges and repeat if needed. Iron-on patches perform best on cotton and denim. Stretchy or synthetic fabrics usually hold better with stitching.
Sewing Patches for Long-Term Hold
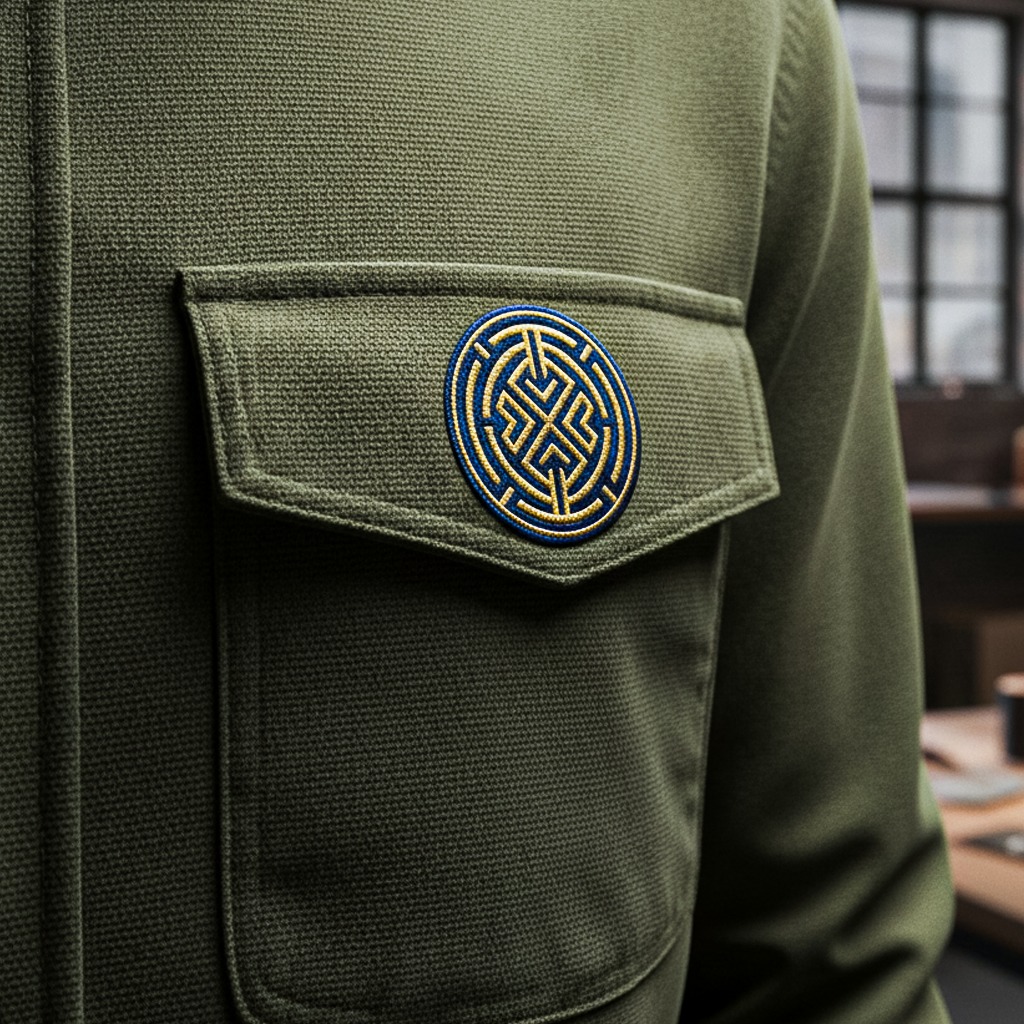
Sewing offers the most durable attachment and works with all patch types, including iron-on, adhesive-backed, and fabric patches. It’s suitable for jackets, jeans, shirts, bags, backpacks, and hats. Pin the patch in place, then stitch around the edges by hand or machine. Matching thread creates a clean finish, while contrasting thread can add style. Decorative stitches can turn a simple patch into a design feature. For thick fabrics or dense patches, a heavy-duty needle and thimble help make the process easier.
Using Fabric Glue or Adhesive
Fabric glue is a simple, no-sew option for quick projects. It’s best for lightly used items like tote bags, craft pieces, or display garments. Apply a thin layer of glue to the back of the patch, press it onto the fabric, and let it dry flat for 24 hours. Avoid washing immediately and stick to gentle hand washing when possible. While convenient, this method is less durable than sewing or ironing. Light pressure from a book while drying can improve adhesion.
Attaching Patches with Velcro
Velcro, or hook-and-loop backing, allows patches to be removed and swapped easily. This method works well for uniforms, tactical gear, and travel bags. Sew or glue the loop side onto the garment, then press it together with the hook-backed patch. It’s ideal for collectors or anyone who likes to rotate designs. Stitching the loop side with a zigzag pattern improves durability for frequently worn items.
Patching Clothes for Repairs
Using patches to repair holes or tears is both practical and stylish. Sewing or ironing a patch over the damaged area provides the best results. Choose a patch slightly larger than the hole and place it on the inside or outside of the garment. Secure it with stitching, adhesive, or heat depending on the fabric. Plain fabric, decorative patches, or contrasting materials can turn a repair into a standout design element.
Using Safety Pins and Clips for Temporary Style
When you want flexibility without permanence, safety pins and clips offer an easy solution. This method works well for events, costumes, fashion testing, or borrowed clothing. Slide a safety pin through the patch and fabric to secure it, or use several small pins along the edges for a cleaner look. Decorative pins can also enhance the design. Badge clips or magnetic backings are useful when you want to avoid punctures, especially on leather or delicate materials. This option is especially practical for kids’ clothing, travel outfits, or patches meant for swapping or sharing.
Caring for Clothing with Patches
Proper care helps patches last longer and keeps garments looking fresh. Turn patched items inside out before washing and use cold water on a gentle cycle to reduce stress on stitching or adhesive. Air drying is recommended, since dryer heat can loosen glue or distort iron-on edges. If a corner lifts or threads loosen, re-stitch or apply a small amount of fabric glue right away to prevent further damage. For frequently used items like jackets or backpacks, a quick yearly check helps maintain durability and appearance.
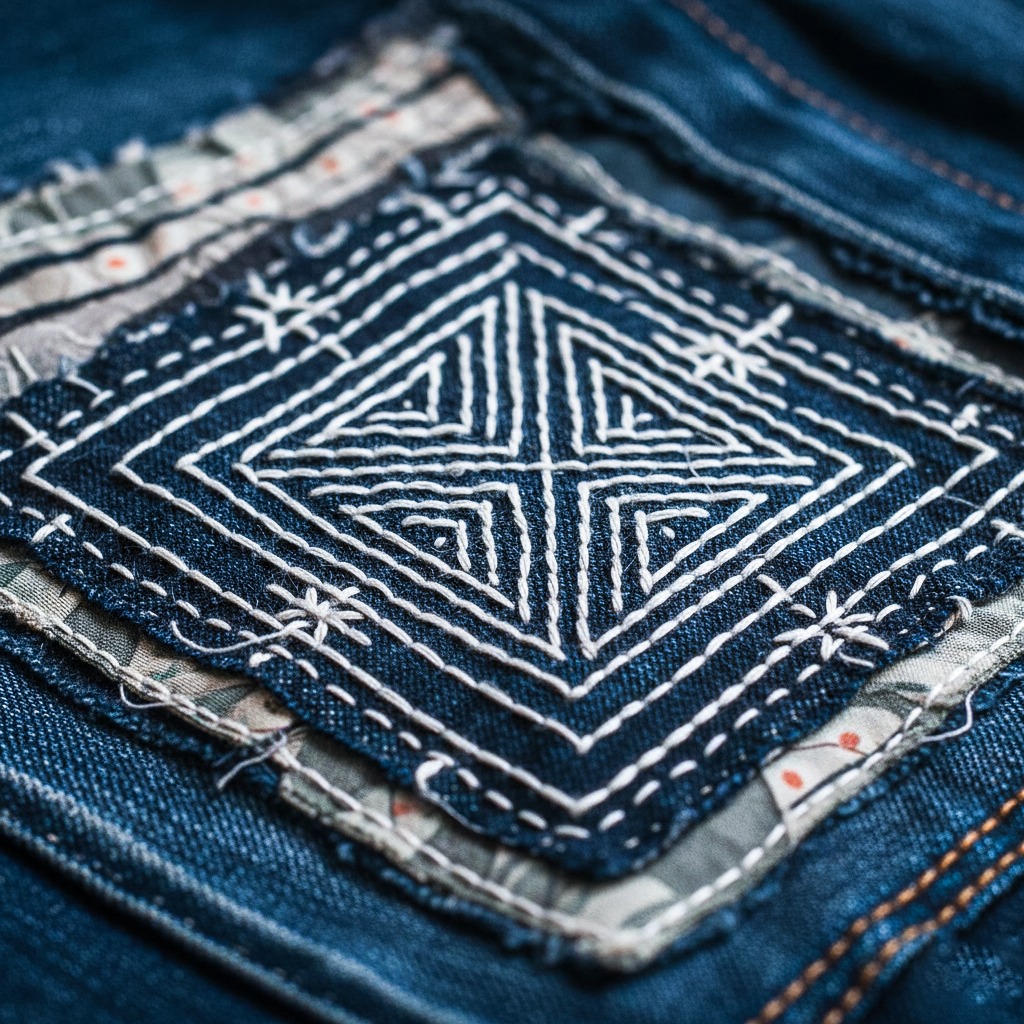
A Stitch of Tradition. Sashiko and Boro
For inspiration beyond standard patching, Sashiko and Boro offer time-honored Japanese techniques that blend repair with artistry. Sashiko uses repeated hand-stitched patterns, often in white thread on indigo fabric, creating both strength and visual rhythm. Boro involves layering and patching worn textiles with visible stitches, celebrating texture and history. Once born from necessity, these methods are now valued for their beauty and craftsmanship. Adding Sashiko or Boro-style details can give worn garments new life, character, and cultural depth.
Make It Yours
Patches are more than simple fabric pieces. They’re personal expressions that add character and meaning to what you wear. Whether you’re restoring a favorite item or enhancing something new, patches offer an easy way to refresh and personalize clothing.
From functional repairs to bold style statements, each patch is an opportunity to create something uniquely yours. Experiment freely, enjoy the process, and choose attachment methods that match your style and creativity.